Commercial Infrastructure and Camera Planning

Dome vs Bullet Cameras for Commercial Security

Dome and bullet cameras can both work well for commercial security, but they fit different mounting locations, visibility goals, weather exposure and viewing angles. Dome cameras are often useful for discreet or vandal-resistant interior and covered areas, while bullet cameras are often useful for visible exterior coverage and longer directional views.

Tampa offices, storefronts, parking areas, warehouses and managed properties often use a mix of dome and bullet cameras. Interior lobbies and corridors may benefit from dome housings, while docks, gates, parking edges and exterior approaches may need visible directional bullet cameras with the right weather rating.

Commercial-First PlanningPlanning is based on real property operations, IT workflow and support needs.
Infrastructure Before EquipmentPathways, power, network and recording requirements are reviewed before products are selected.
Clear User WorkflowViewing, administration, alerts and support responsibilities are planned before turnover.
Useful Evidence GoalsCoverage and infrastructure choices are tied to what the team needs to review later.
Documented System DeliveryFinal delivery includes testing, labeling, user guidance and system documentation so the team can operate and support the system.

CAMERA FORM FACTORS

Choosing Dome or Bullet Cameras by Coverage Need

The decision depends on housing style, lens, field of view, vandal resistance, weather rating, infrared or low-light performance, mounting surface, cable path and maintenance access. The form factor should follow the scene, not the other way around.

Data Pro Communications helps Tampa-area commercial properties plan low-voltage, cabling and camera infrastructure with clear documentation, testing and practical support for the teams that use the system.

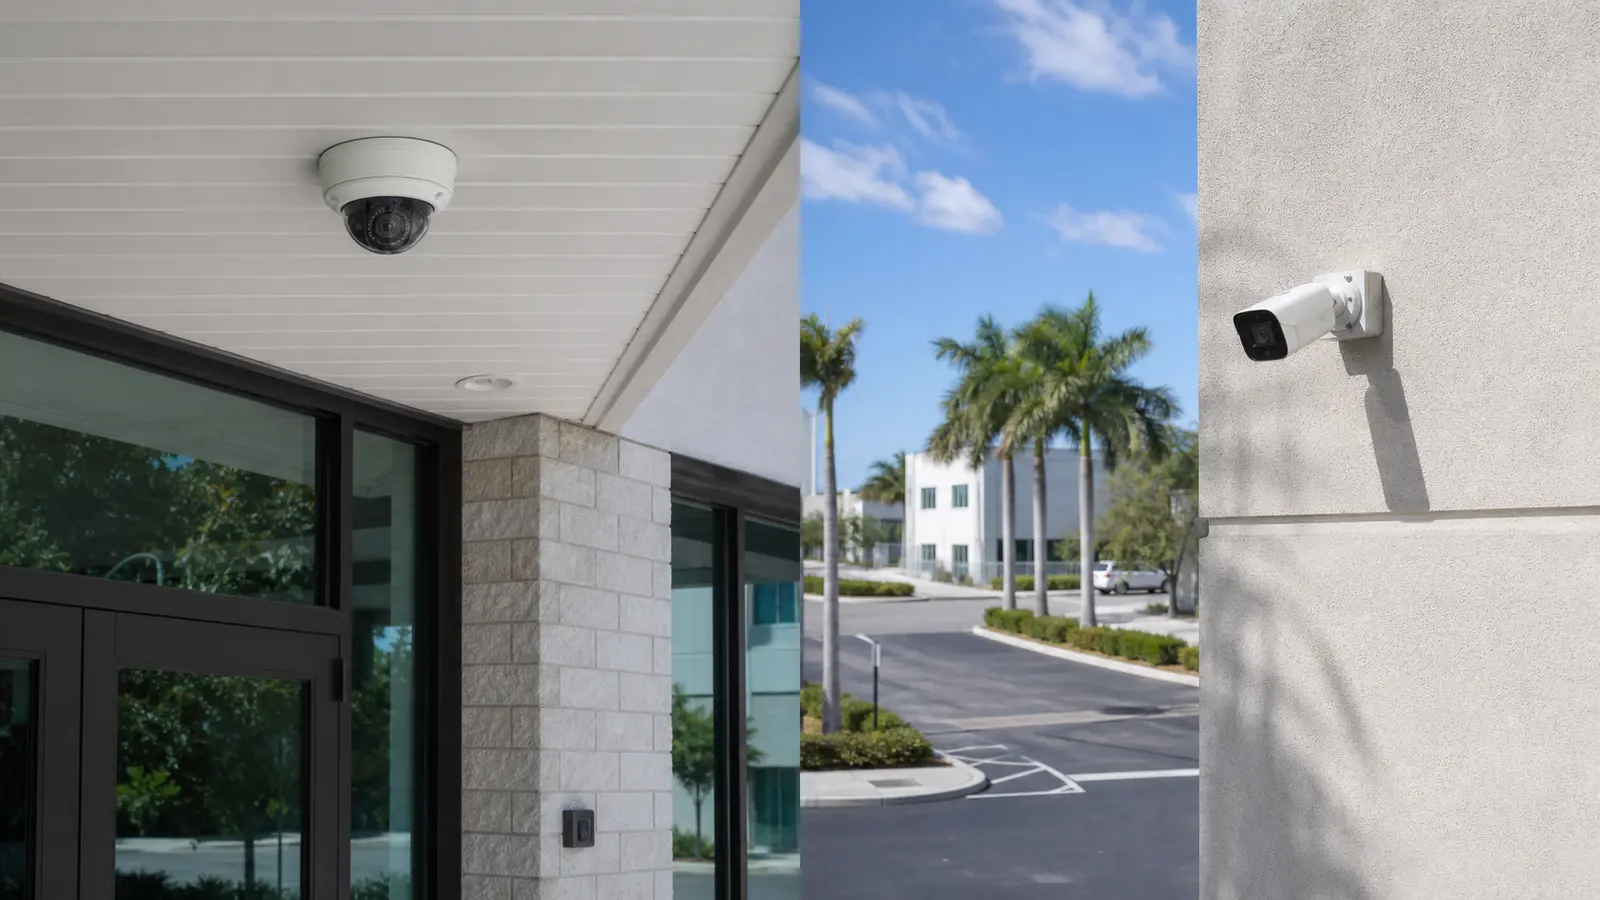
Dome and bullet security cameras shown in realistic commercial mounting locations

PLANNING GUIDE

Dome and Bullet Camera Comparison Points

Dome Camera Placement

Use domes where a lower profile, protected cover or less obvious viewing direction supports the scene.

Bullet Camera Placement

Use bullets where visible directional coverage, exterior aim and longer approaches matter.

Mounting and Service Access

Review ceiling, wall, soffit and pole locations for reachability and future maintenance.

Field-of-View Matching

Select lens and angle from the actual doorway, drive aisle, lobby or perimeter view.

Weather and Tamper Review

Match housings to glare, rain exposure, vandal risk and cleaning expectations.

Mixed Camera Layouts

Combine dome and bullet models when different property zones have different security goals.

Tampa storefronts, garages, schools, warehouses and multifamily common areas may need both camera styles: low-profile domes for lobbies, corridors and covered entrances, and visible bullet cameras for loading areas, fence lines and parking approaches. The right choice depends on what the camera must show, how exposed the mount is, whether the camera should be noticed and how maintenance crews will reach it later.

Dome and Bullet Cameras Detailed Planning Guide

Dome and Bullet Cameras: What This Guide Covers

Dome and Bullet Cameras: How the System Works

Camera selection starts by defining the view and mounting condition. Once the location, lighting, exposure and detail goal are known, the housing style is selected to match the environment, deter unwanted behavior where useful and provide a serviceable view.

Dome and Bullet Cameras: Core Components

Dome and Bullet Cameras: Operational Flow

Operational Flow: scene and risk review -> dome or bullet housing selection -> lens and field-of-view confirmation -> mounting height and cable-path planning -> weather, glare and tamper review -> recording verification -> user review and service-access documentation.

Dome and Bullet Cameras: Planning Criteria

  • Define each location as interior, covered exterior or exposed exterior.Interior or exterior classification matters because it determines weather rating, cover maintenance, mounting hardware and whether a dome or bullet body is practical.
  • Confirm whether the camera should be discreet, visible or tamper resistant.Visibility and tamper-resistance goals should be documented because they affect whether the camera is meant to blend in, deter activity or resist casual interference.
  • Match lens, field of view and low-light needs to the scene.Lens, field of view and low-light requirements must be measured from the actual scene so the selected housing supports useful identification, overview or directional coverage.
  • Check mounting height, cable path, weather exposure and service access.Mounting height, cable route and service access affect lift requirements, vandal exposure, conduit needs and whether future cleaning or adjustment is realistic.
  • Use separate models when one housing style cannot fit every location.Mixed housing use should be planned when one style cannot meet every location, which affects model selection, spare inventory and consistency across the property.

Dome and Bullet Cameras: Commercial Examples

Example: A lobby may use dome cameras to cover entrances and waiting areas without a bulky exterior-style housing.

Example: A warehouse loading dock may use bullet cameras to create visible directional coverage down a drive lane.

Example: A covered walkway may use vandal-resistant domes where low mounting height increases tamper risk.

Dome and Bullet Cameras: Operational Recommendations

Recommendation: Choose camera style after confirming the required view, not before.

Recommendation: Use a mix of dome and bullet cameras when the property has both interior common areas and exterior approaches.

Dome and Bullet Cameras: Advantages and Limitations

Dome and Bullet Cameras: Advantages

Advantage: Dome cameras can provide a lower-profile appearance and make it more difficult for casual observers to determine the exact viewing direction.

Advantage: Bullet cameras can make coverage visible and support directional exterior views.

Advantage: Selecting by location improves aesthetics, serviceability and footage usefulness.

Dome and Bullet Cameras: Limitations

Limitation: A dome can suffer from glare or dirty covers if placed poorly.

Limitation: A bullet camera can be more exposed to tampering or weather if mounted too low.

Limitation: Neither style solves poor lens choice, lighting or placement.

Dome and Bullet Cameras: Common Mistakes

Common mistake: choosing one camera style for every location

Common mistake: using a dome outdoors without considering glare or cover maintenance

Common mistake: mounting bullet cameras where they can be easily reached

Common mistake: ignoring cable path and service access

Dome and Bullet Cameras: Infrastructure Dependencies

  • Mounting surface and heightDocument wall, ceiling, soffit and pole conditions because dome and bullet cameras require different brackets, angles and service access.
  • Weather, glare and tamper exposureConfirm sun direction, rain exposure, cover cleaning needs and reachability so the chosen housing style remains useful after installation.
  • Field of view and lens choiceMeasure the target scene, distance and lighting because camera form factor alone does not guarantee identification, overview or directional coverage.
  • Recording and review workflowConfirm recorder or VMS compatibility, camera names and user review needs so each housing choice supports the evidence workflow.

Dome and Bullet Cameras: Decision Checklist

[ ] Define each location as interior, covered exterior or exposed exterior.

[ ] Confirm whether the camera should be discreet, visible or tamper resistant.

[ ] Match lens, field of view and low-light needs to the scene.

[ ] Check mounting height, cable path, weather exposure and service access.

[ ] Use separate models when one housing style cannot fit every location.

Dome and Bullet Cameras: When to Request a Site Review

Request a site review when a property is choosing between dome and bullet cameras for lobbies, corridors, storefronts, warehouses, gates, parking areas, docks or exterior approaches with different mounting and visibility needs.
PROCESS

Dome and Bullet Cameras Project Process

Define the coverage goal and mounting condition for each camera location

Each location is assigned an operational purpose, target distance, mounting surface, and expected exposure before a camera form factor is chosen.

Compare dome and bullet form factors against visibility, tamper risk and weather exposure

Dome and bullet options are weighed against visibility, tamper exposure, weather, service access, and the desired field of view.

Select lens, lighting and mounting approach for each scene

Lens width, low-light performance, mounting hardware, and scene lighting are selected together for each approved view.

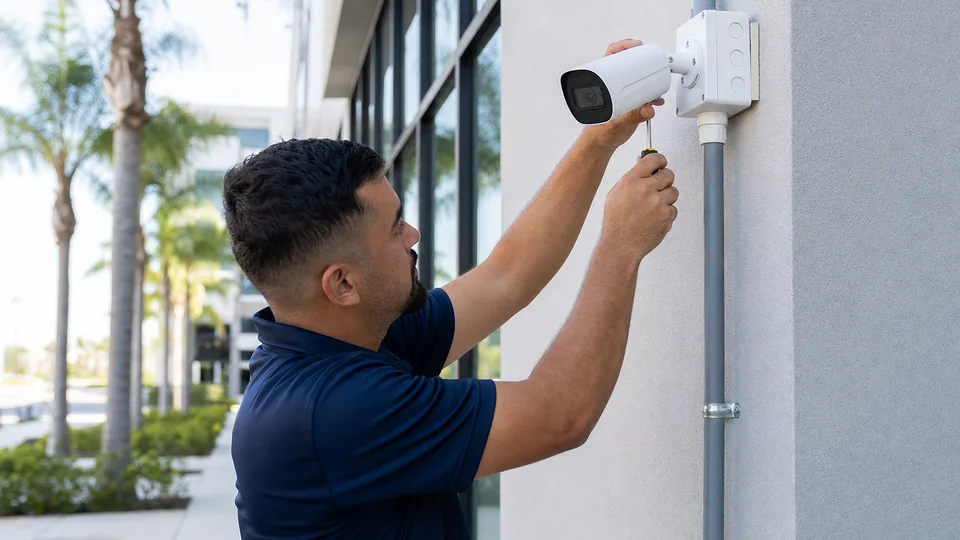
Test the installed views and document camera names, locations and maintenance notes

Acceptance testing confirms the installed views, while camera names, locations, and maintenance access are recorded for support.

FAQ

Dome and Bullet Cameras FAQs

How should a commercial property choose between dome and bullet cameras?

Choose the housing after defining the scene. Dome cameras often suit discreet, lower-profile, or vandal-resistant locations, while bullet cameras can suit visible exterior coverage and longer directional views; lens, weather exposure, mounting, and service access still decide the final fit.

Where do dome cameras usually work best?

It is useful when the property needs the specific capability described in this article and the infrastructure, workflow and support requirements can be planned before installation.

Where do bullet cameras usually work best?

Bullet cameras are often effective on exterior walls, docks, gates, parking edges, and other directional views where a visible housing and focused field of view are appropriate. Weather rating, reachability, glare, and cable entry still need review.

How does camera visibility affect the dome versus bullet decision?

Avoid choosing one camera style for every location, using a dome outdoors without considering glare or cover maintenance, mounting bullet cameras where they can be easily reached.

What mounting details should be reviewed before choosing a camera style?

Check whether the location is interior, covered, or fully exposed; then document mounting material, height, cable entry, weather, glare, tamper risk, field of view, and future cleaning or service access.

Can a Tampa property use both dome and bullet cameras?

Document camera or cable labels, equipment locations, user roles, test results, support notes and any assumptions that affect future service.

How do weather and glare affect dome camera placement?

Sometimes. Existing cabling, mounts, network equipment or recording hardware should be inspected and tested before it is included in the final design.

How do lens and field of view affect the camera style decision?

Facility, operations, IT, security and property-management stakeholders should align on goals, access, maintenance and review workflow.

What mistake causes poor dome or bullet camera performance?

Define each location as interior, covered exterior or exposed exterior.

When should a Tampa property request a camera selection site review?

Request a camera-selection review when lobbies, corridors, storefronts, warehouses, gates, docks, parking areas, or exterior approaches present different mounting, visibility, lighting, and weather conditions.

NEXT STEP

Choose the Right Camera Style

Request a commercial site review when the property needs a practical plan, clear infrastructure assumptions and a documented path to implementation.

Request a Site Survey